About this tutorial
I created this tutorial to present a way of working using sculpting techniques thus not relying on a perfect drawing on the subject and rather working on lights shadows and how light is interacting with the surface of the painting subject. Unfortunately, I started taking pictures of the creation after I have made a rough indication of what to be painted so this is something like a half tutorial. I will come back with a full tutorial in the future!
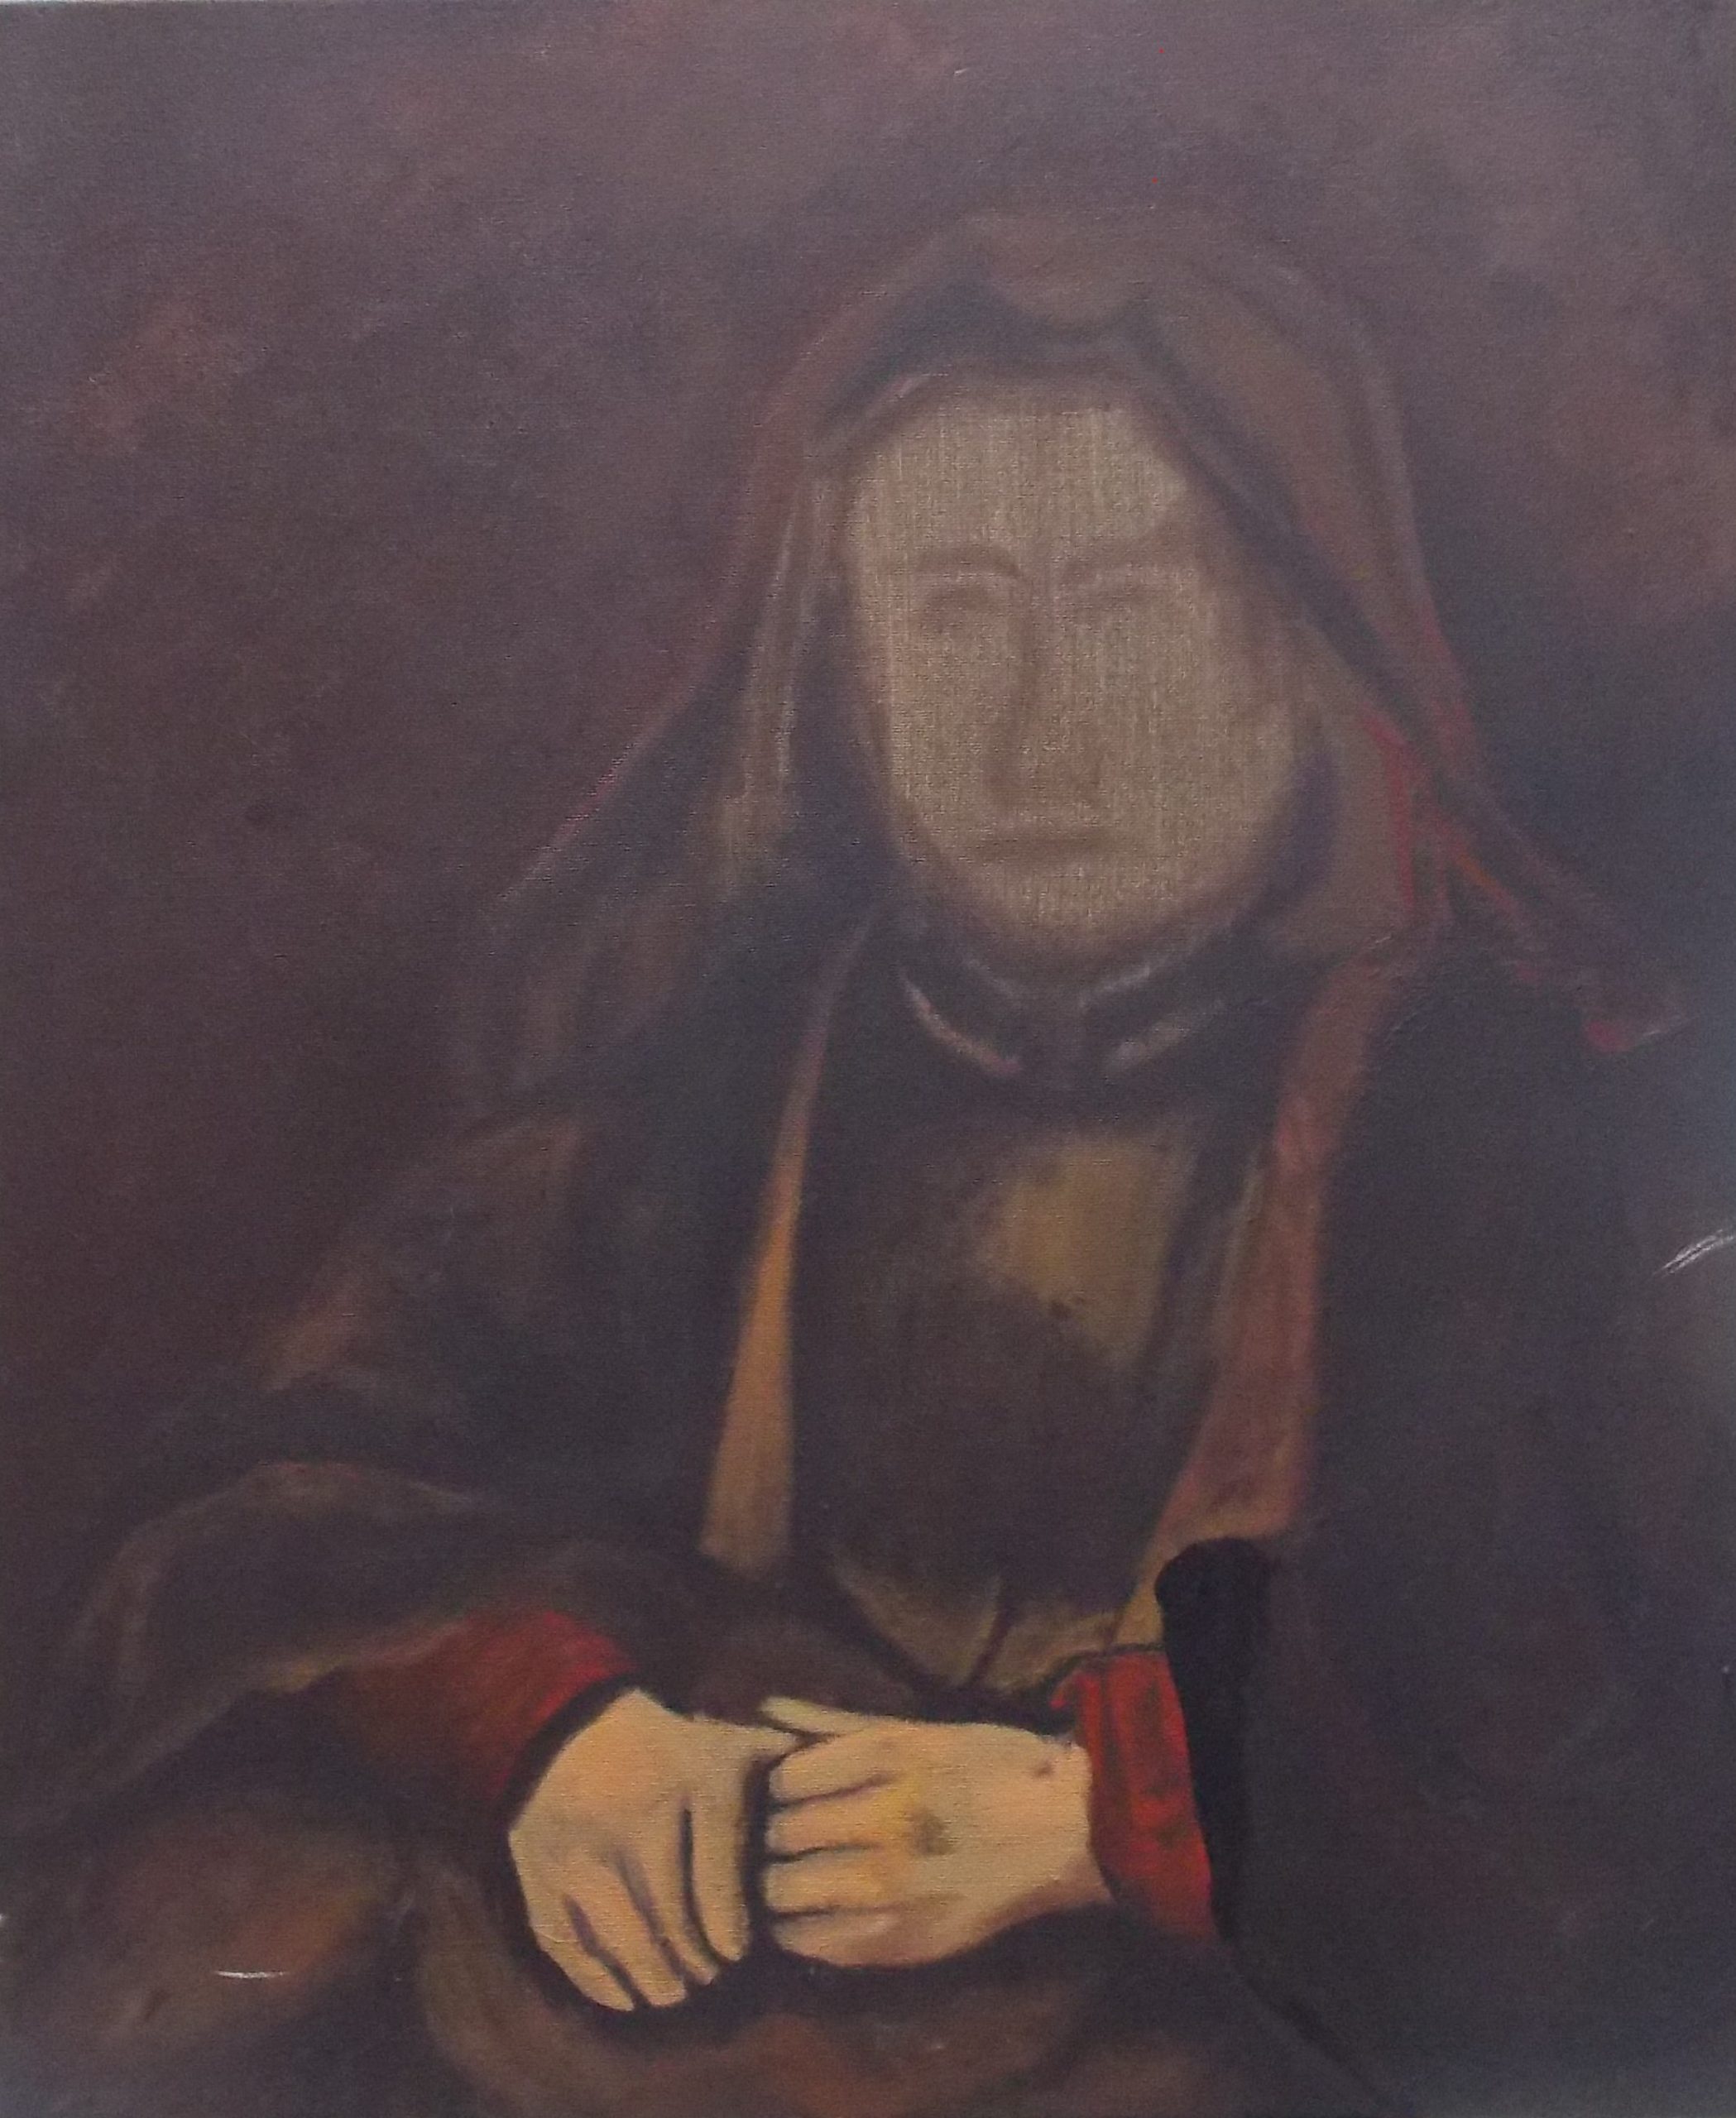
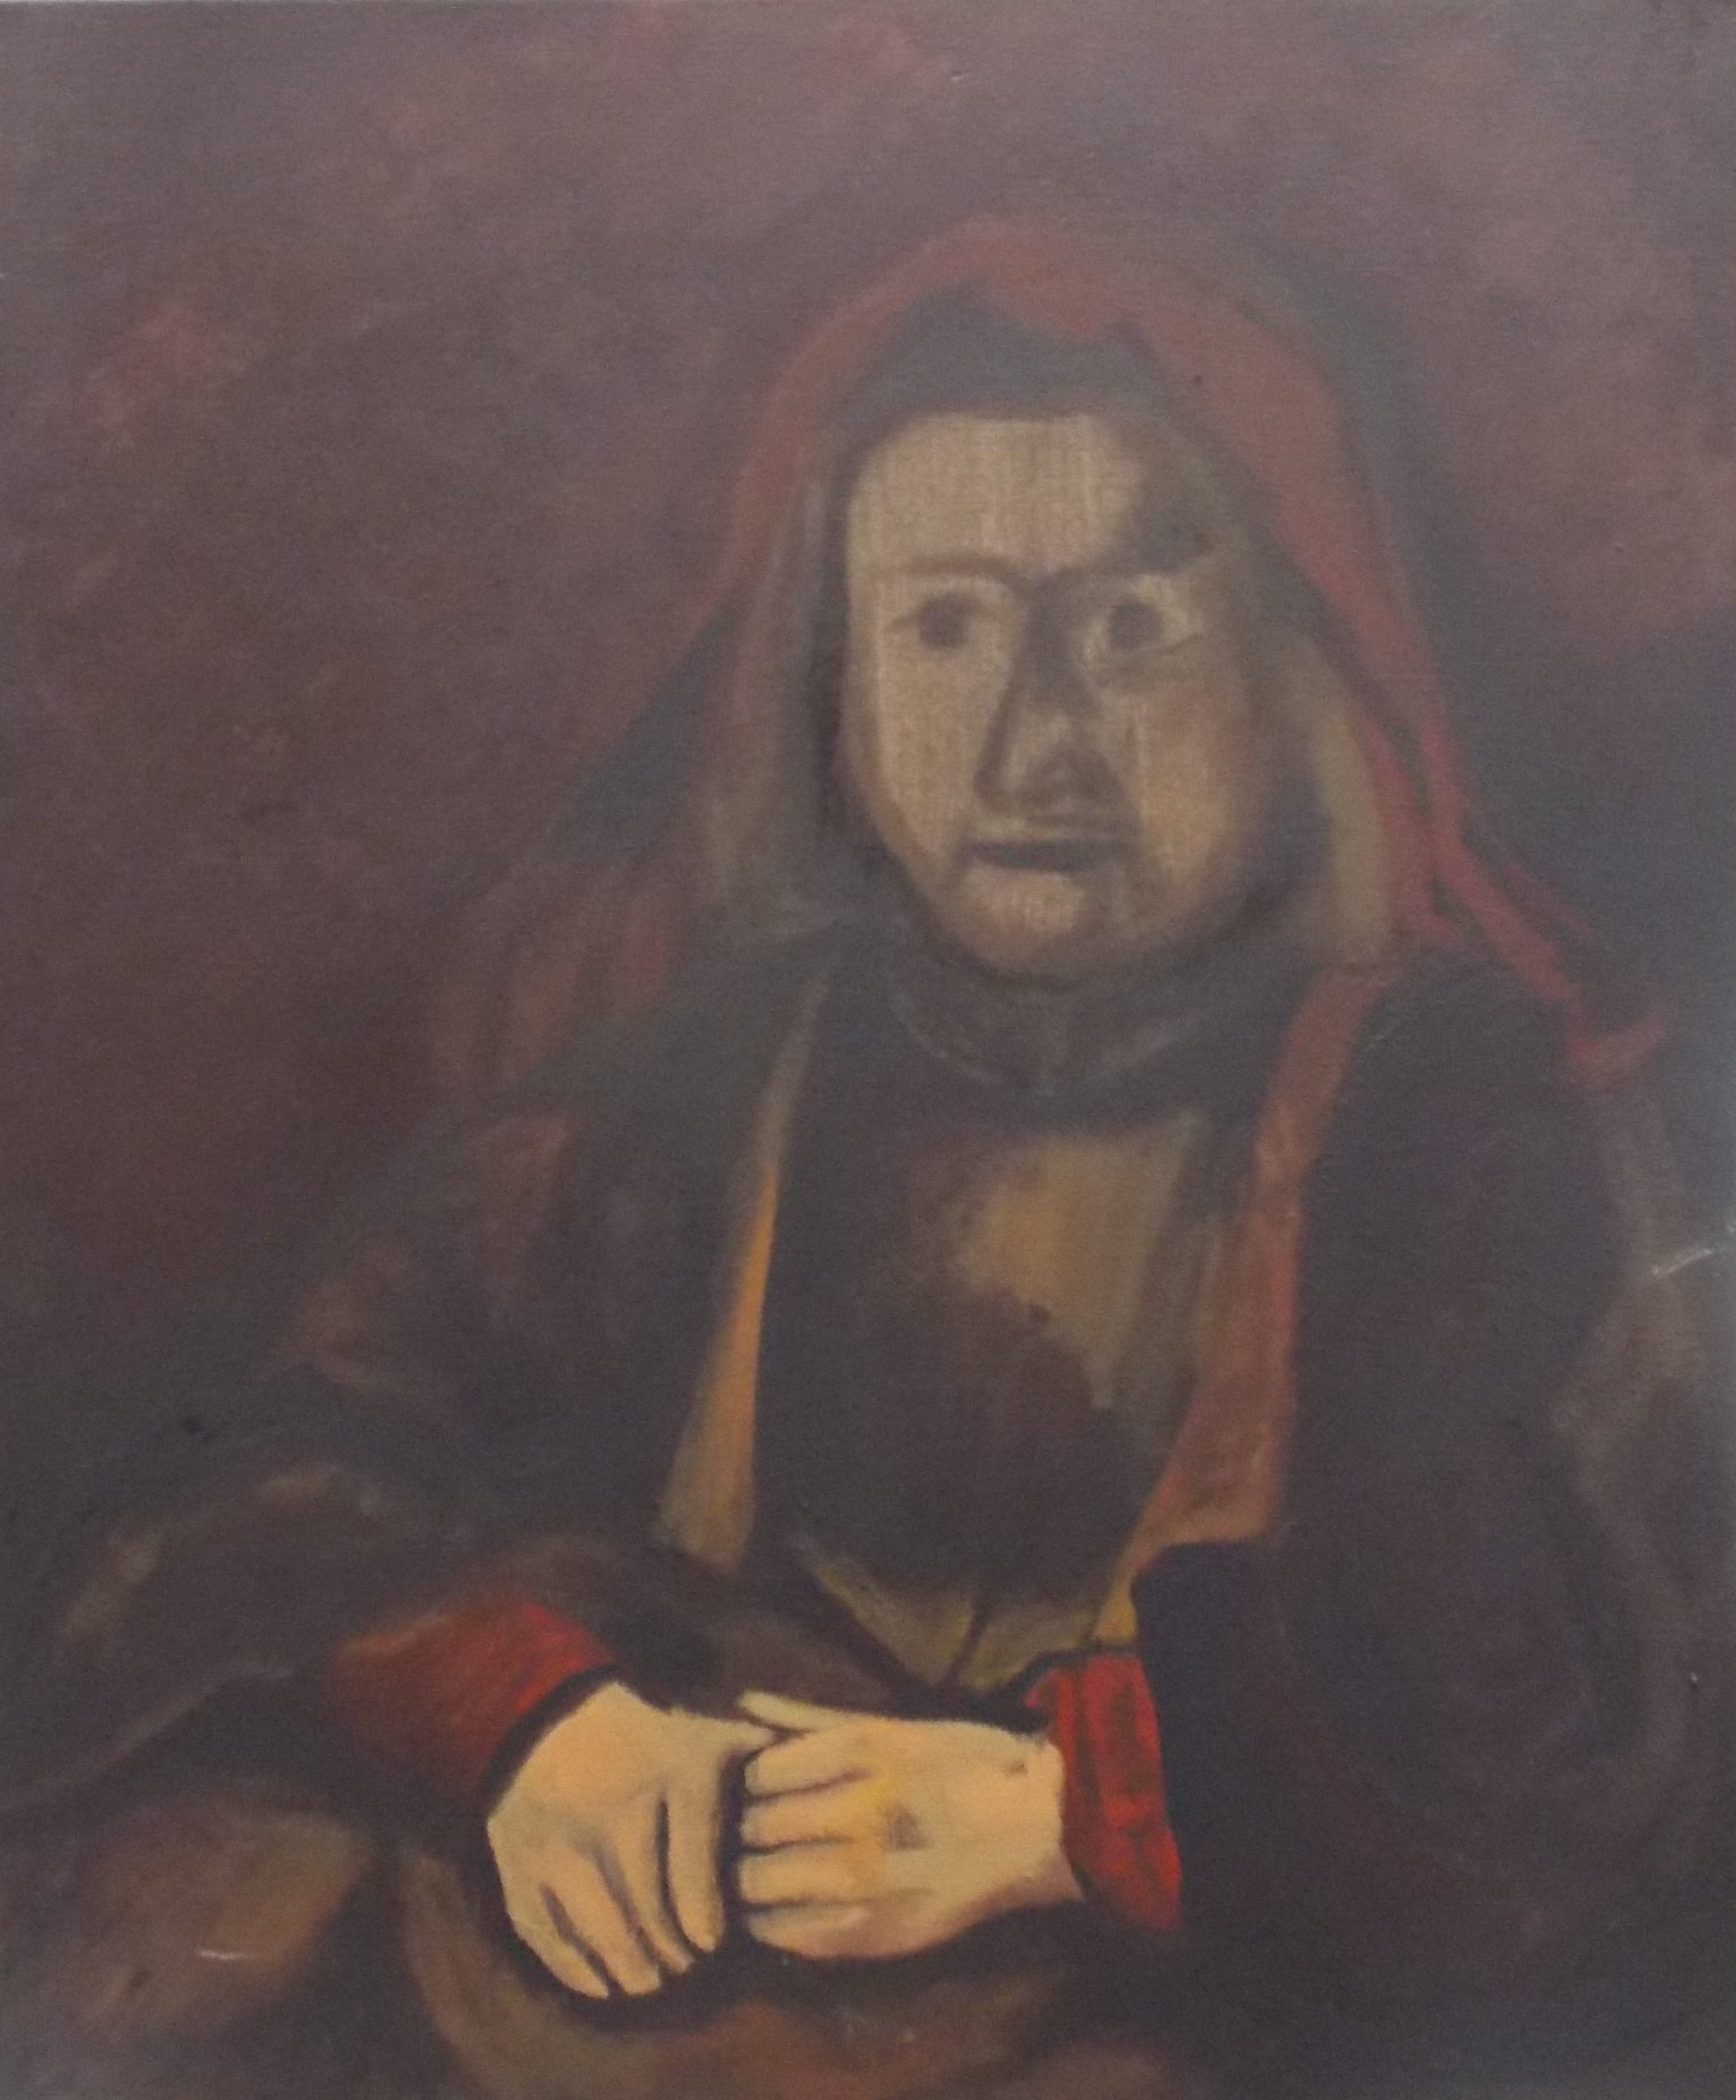
Shadows
Having a first version of the basic concept of the painting I started reinforcing the shadows so as to give emphasis to the shadow part of the composition. For this purpose, I used a dark mixture of burnt umber, ultramarine blue, emerald green, and cadmium red.
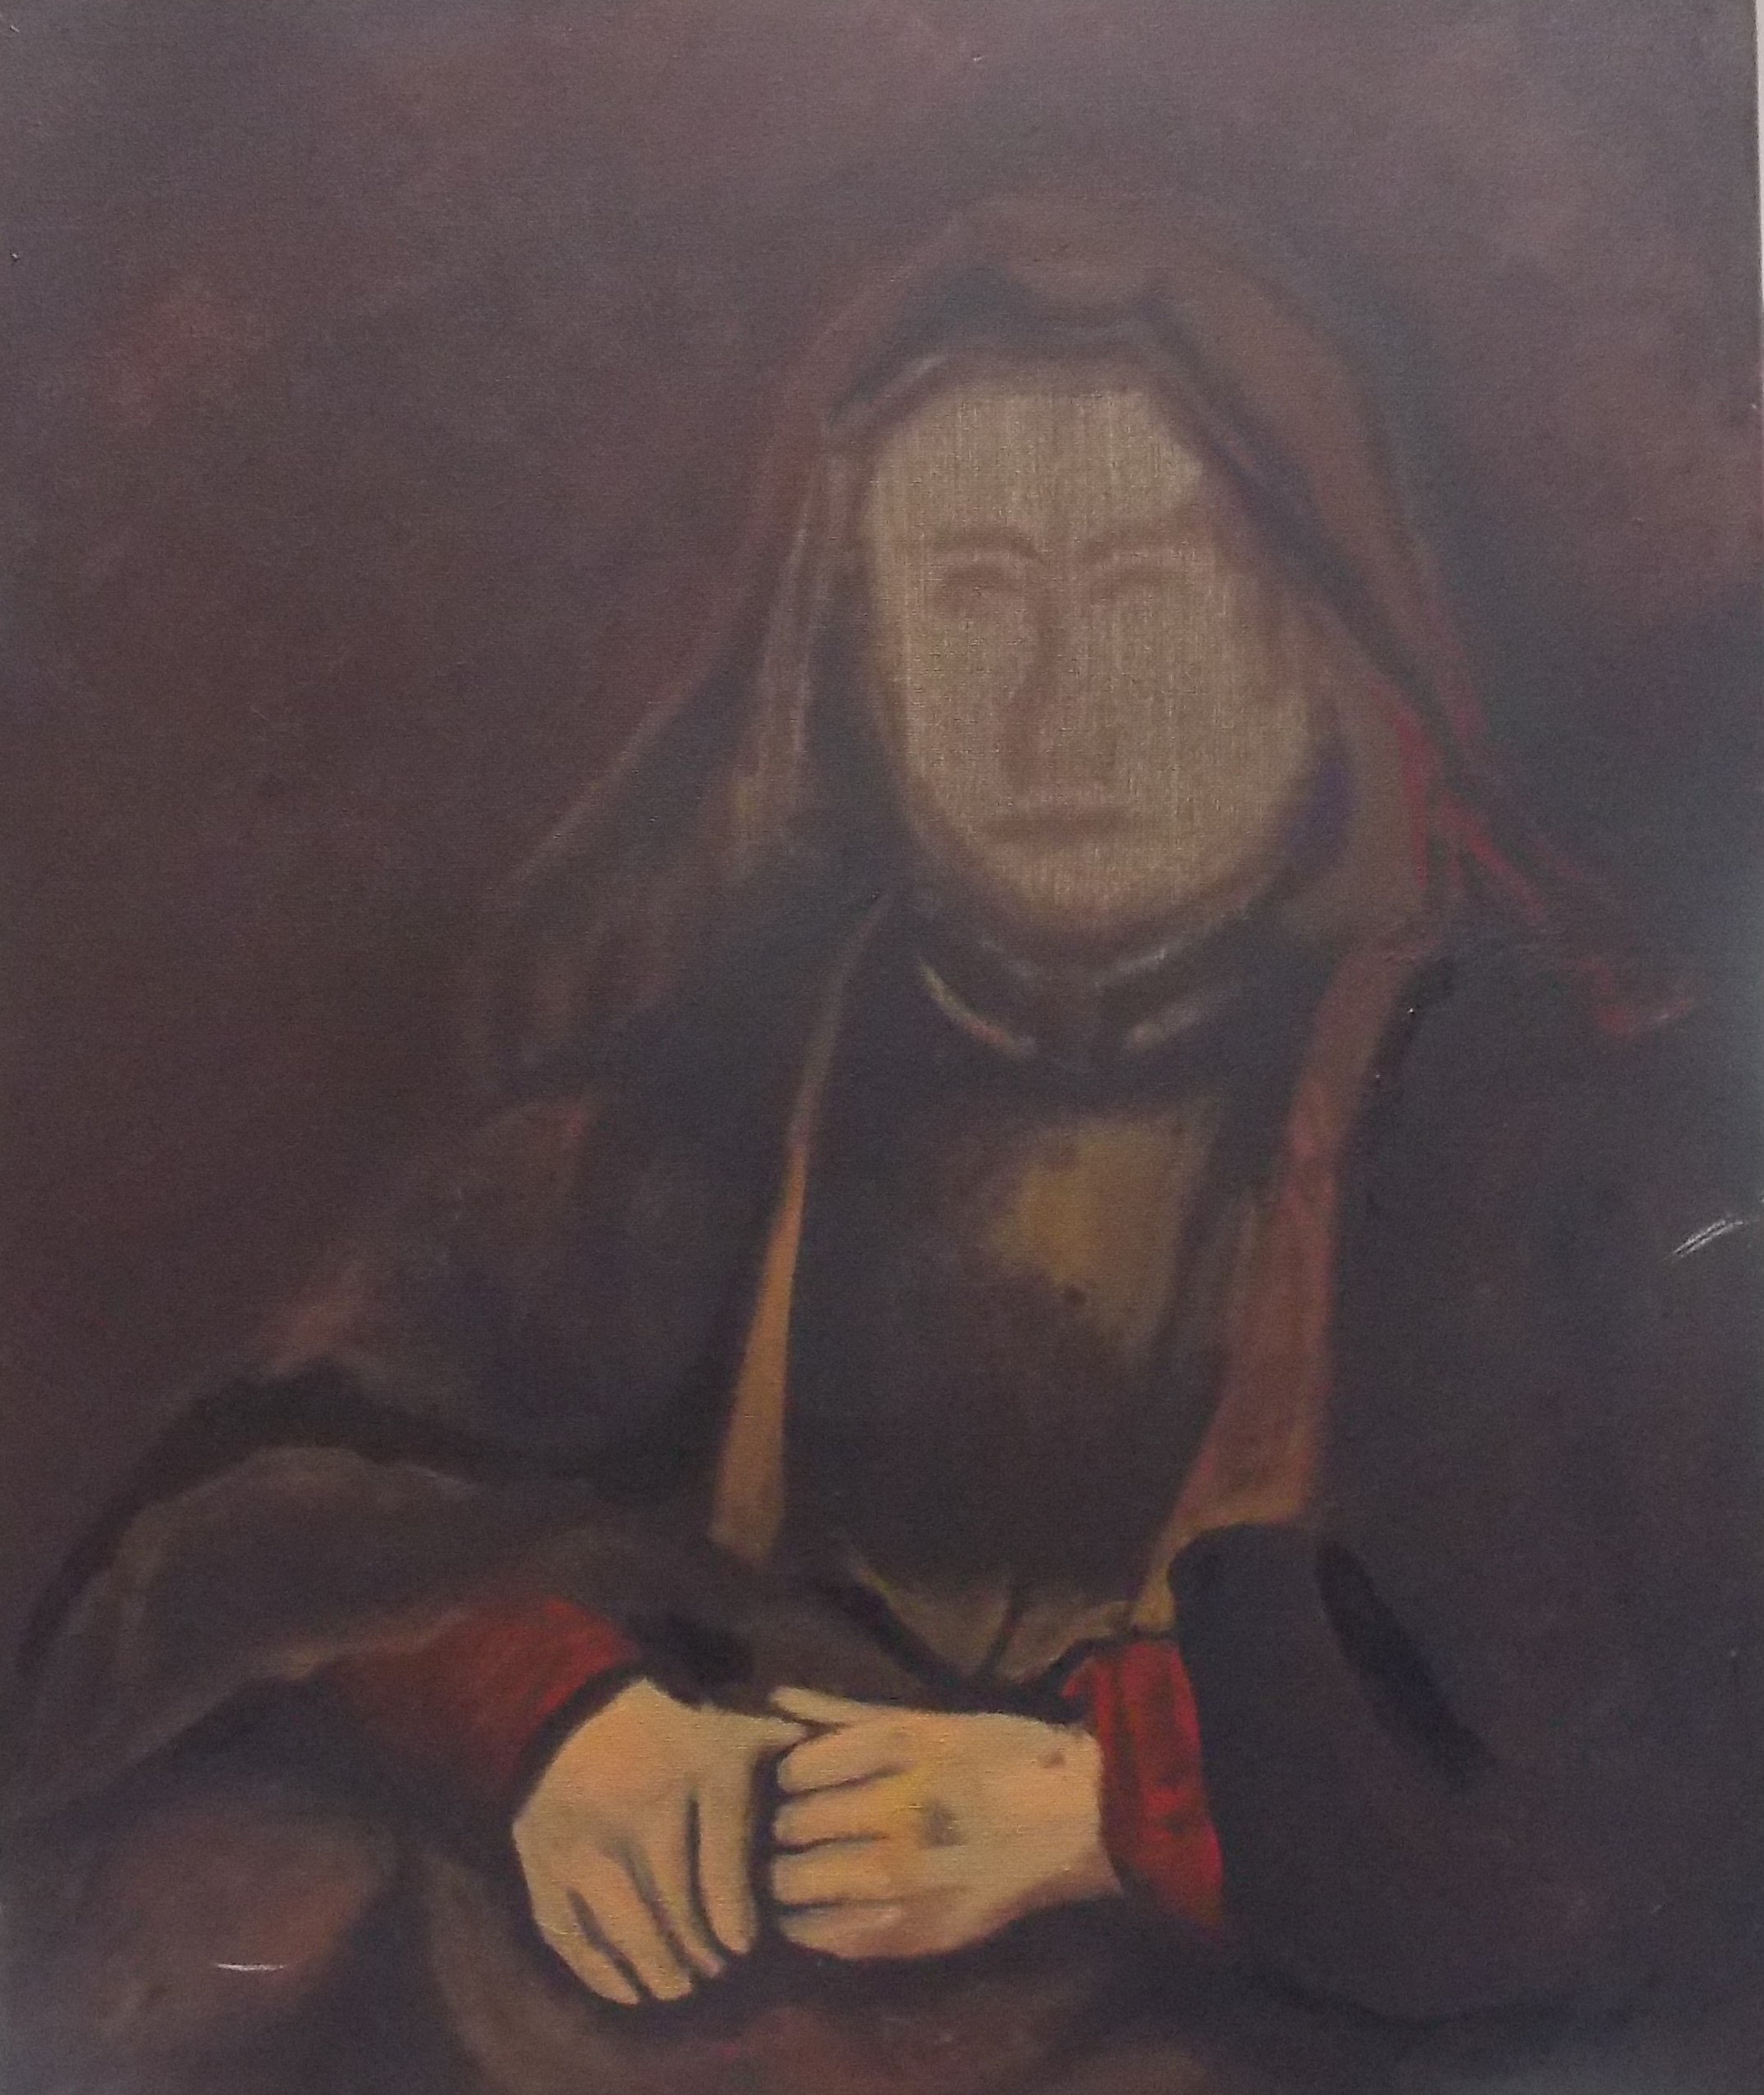
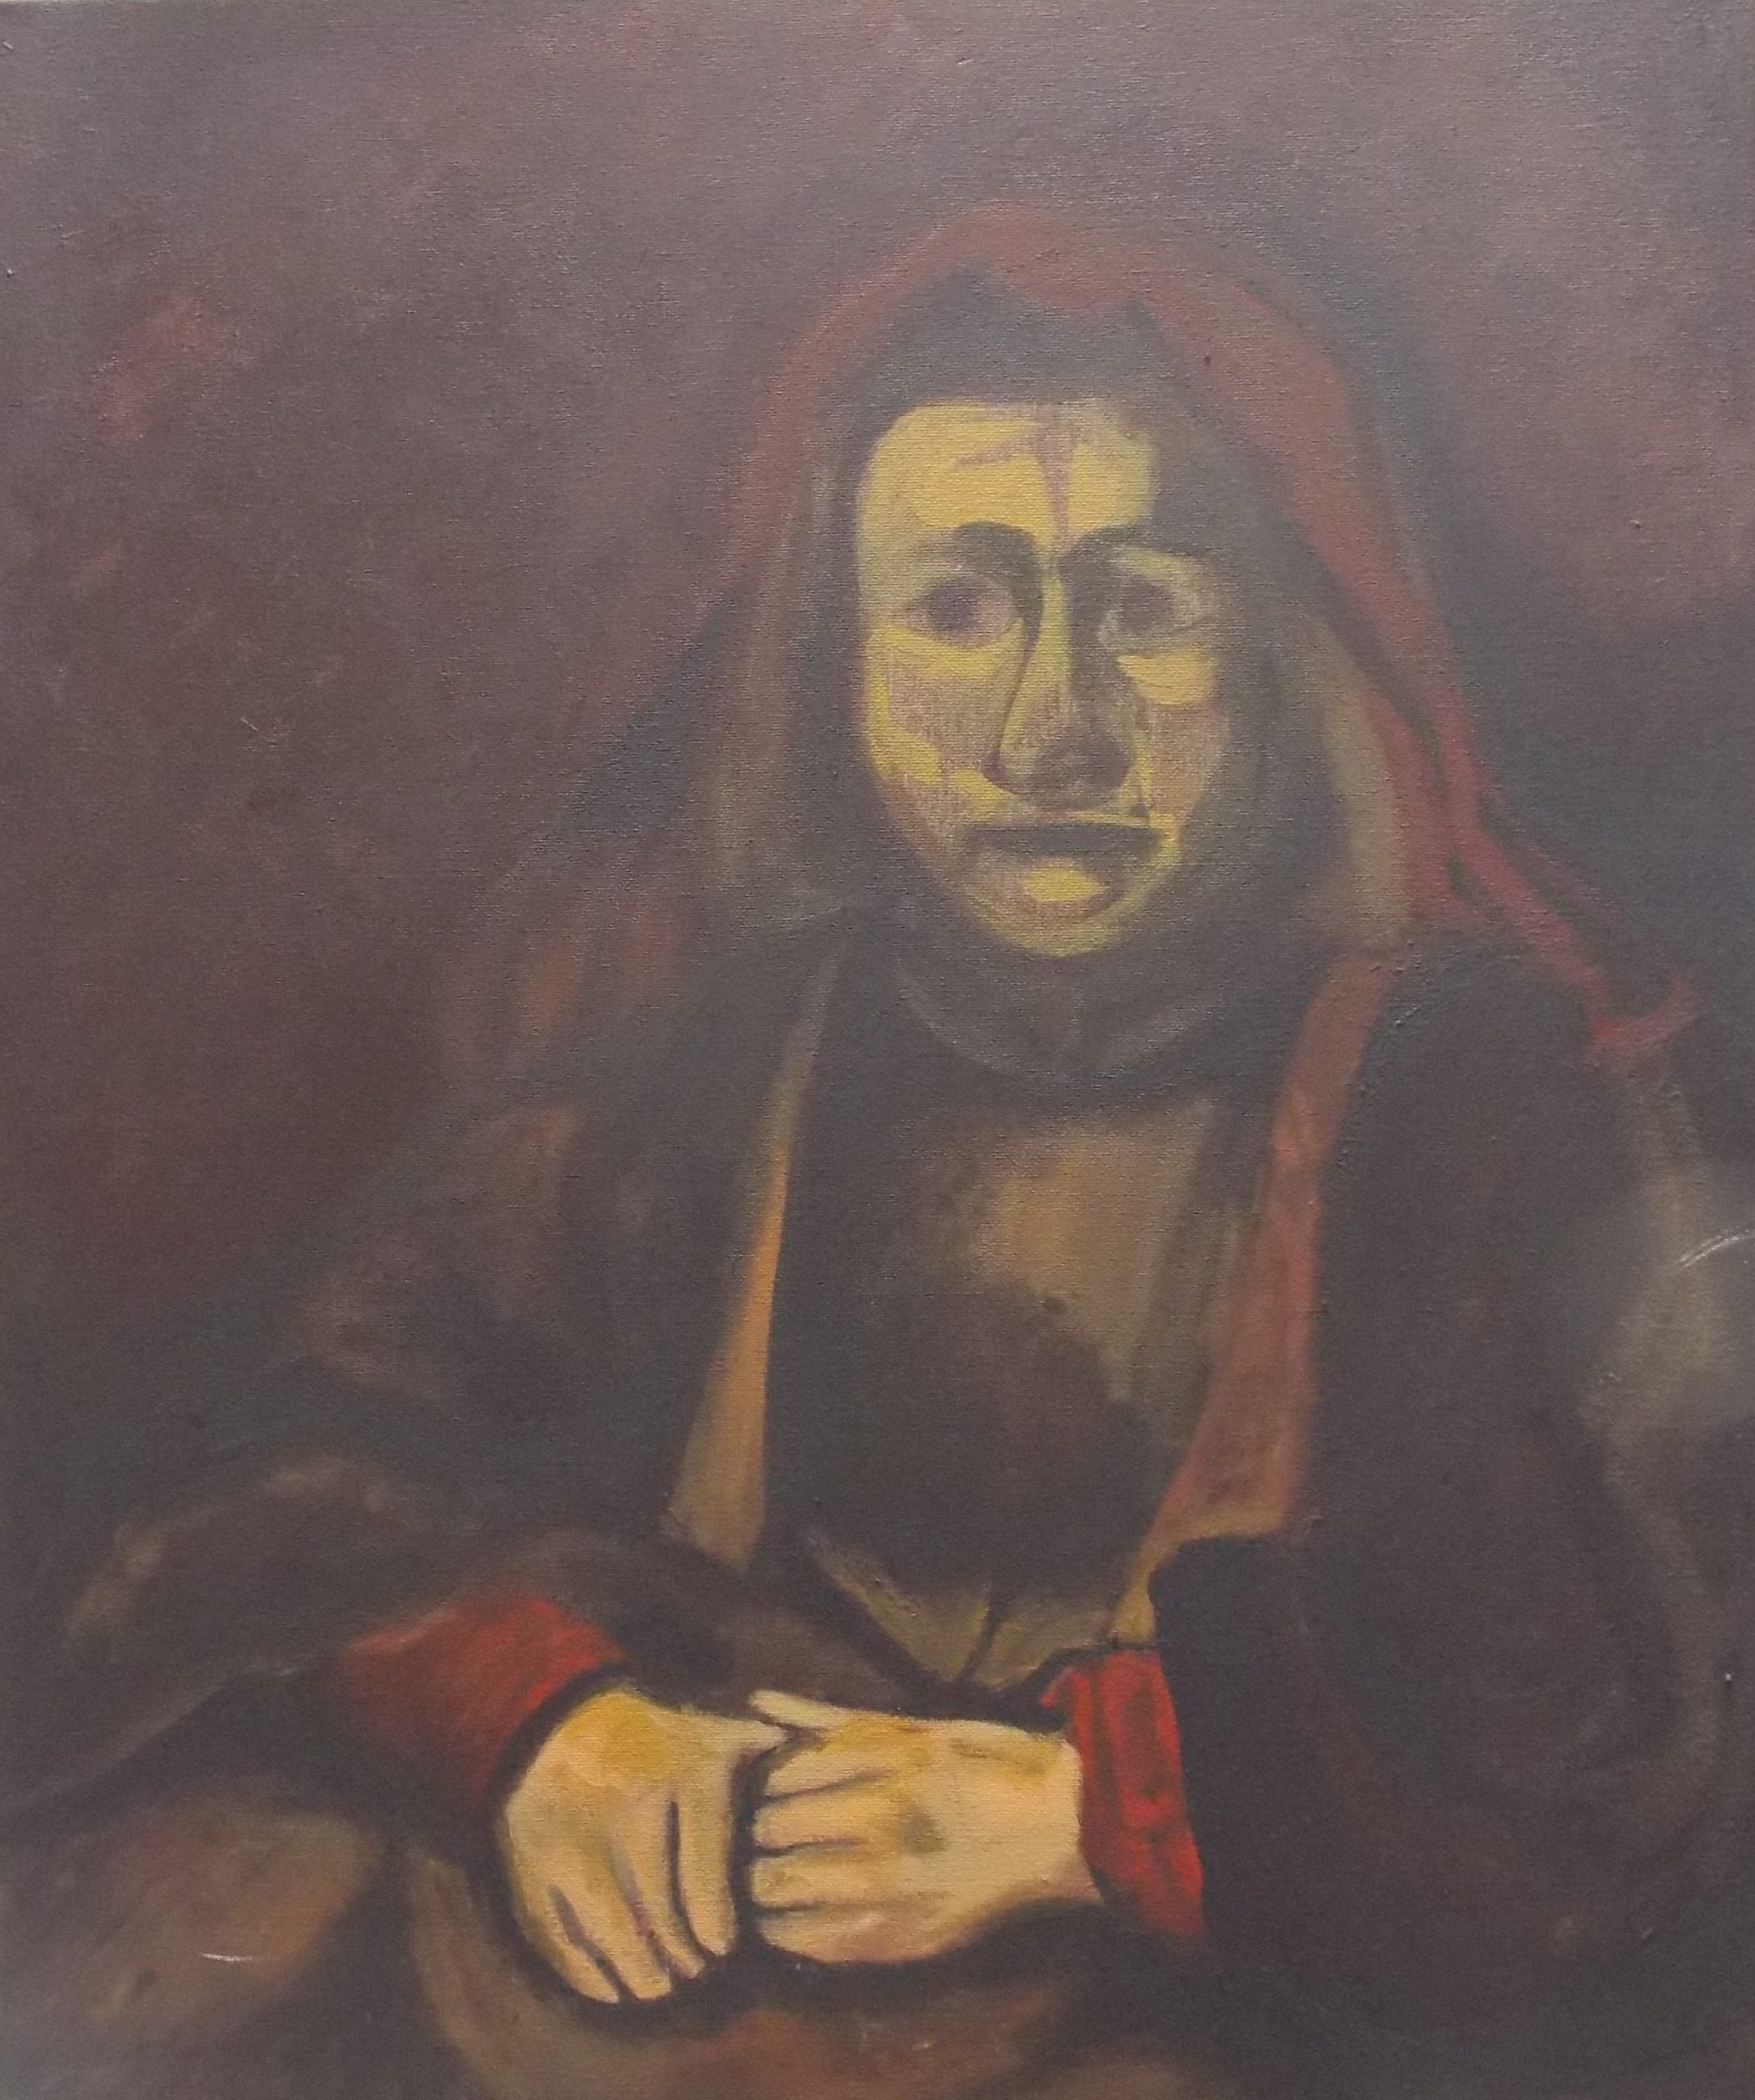
Lights
The next step is to paint the light areas of the painting. These start from very bright tones and warm colors that are gracefully toned down to homogenize the composition. In this step mixtures of ochre with vermillion and ultramarine are used for skin tones (warmer and cooler combinations). No white is used in this stage.
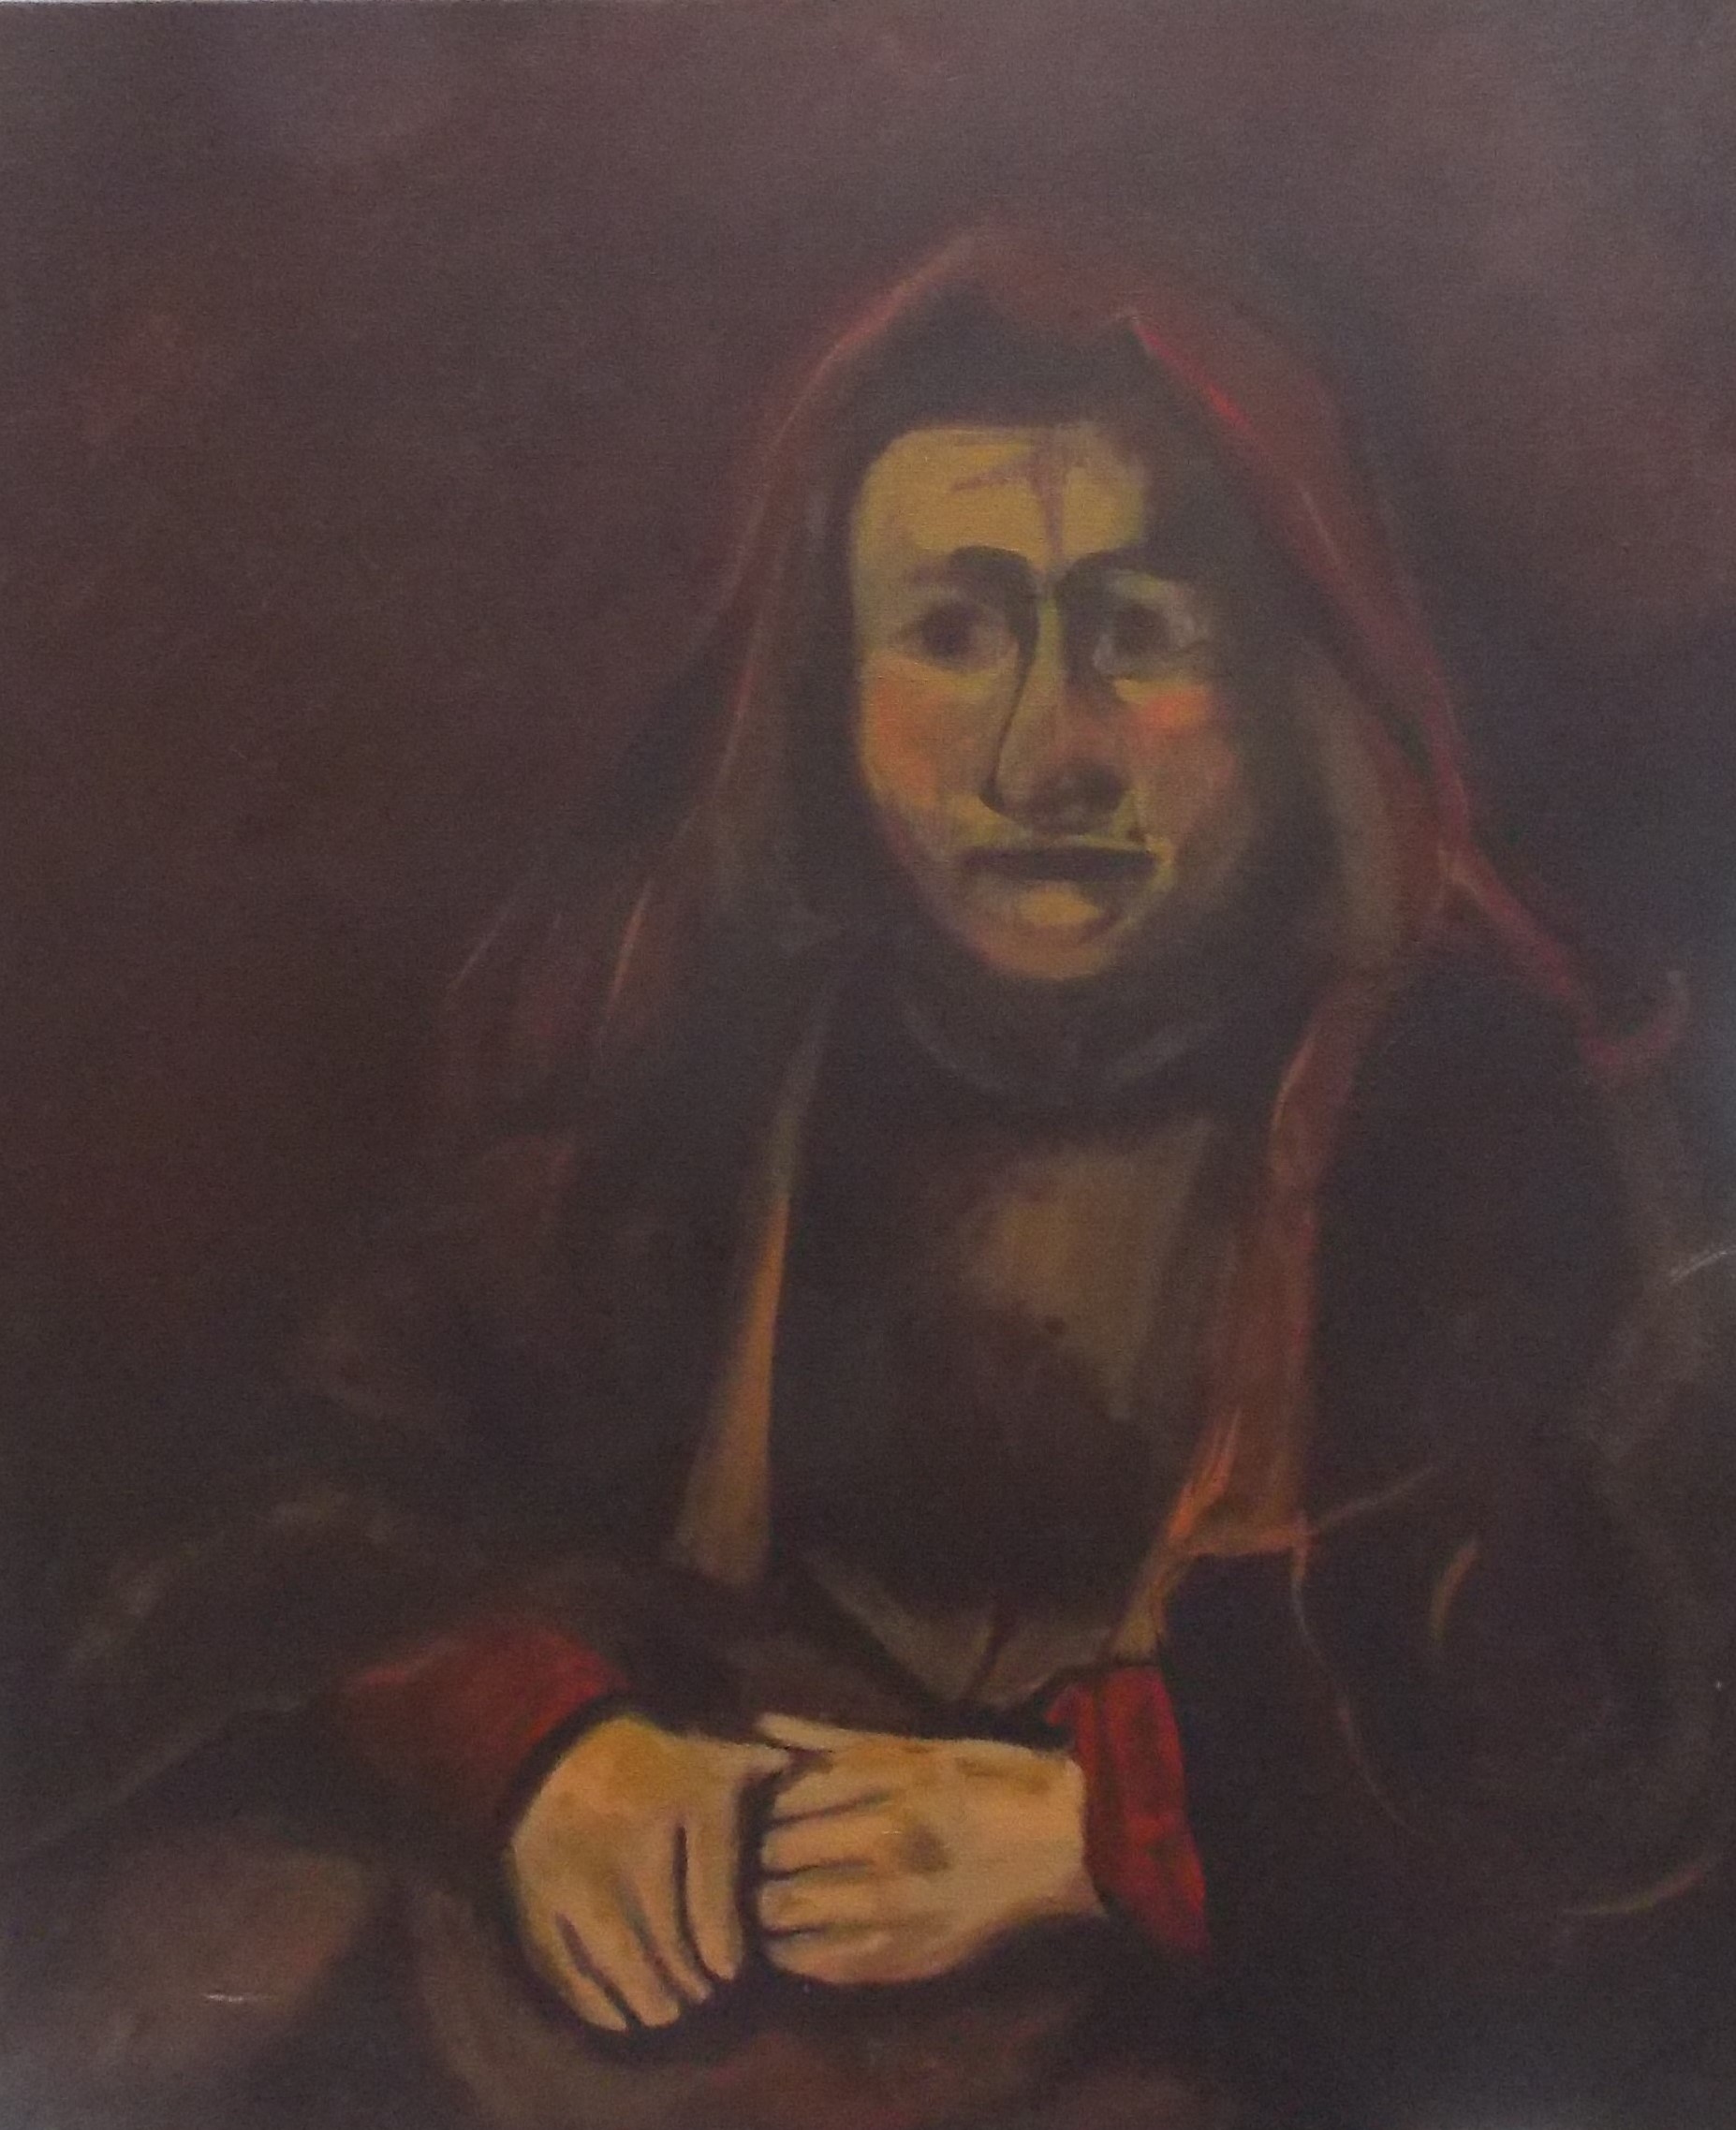
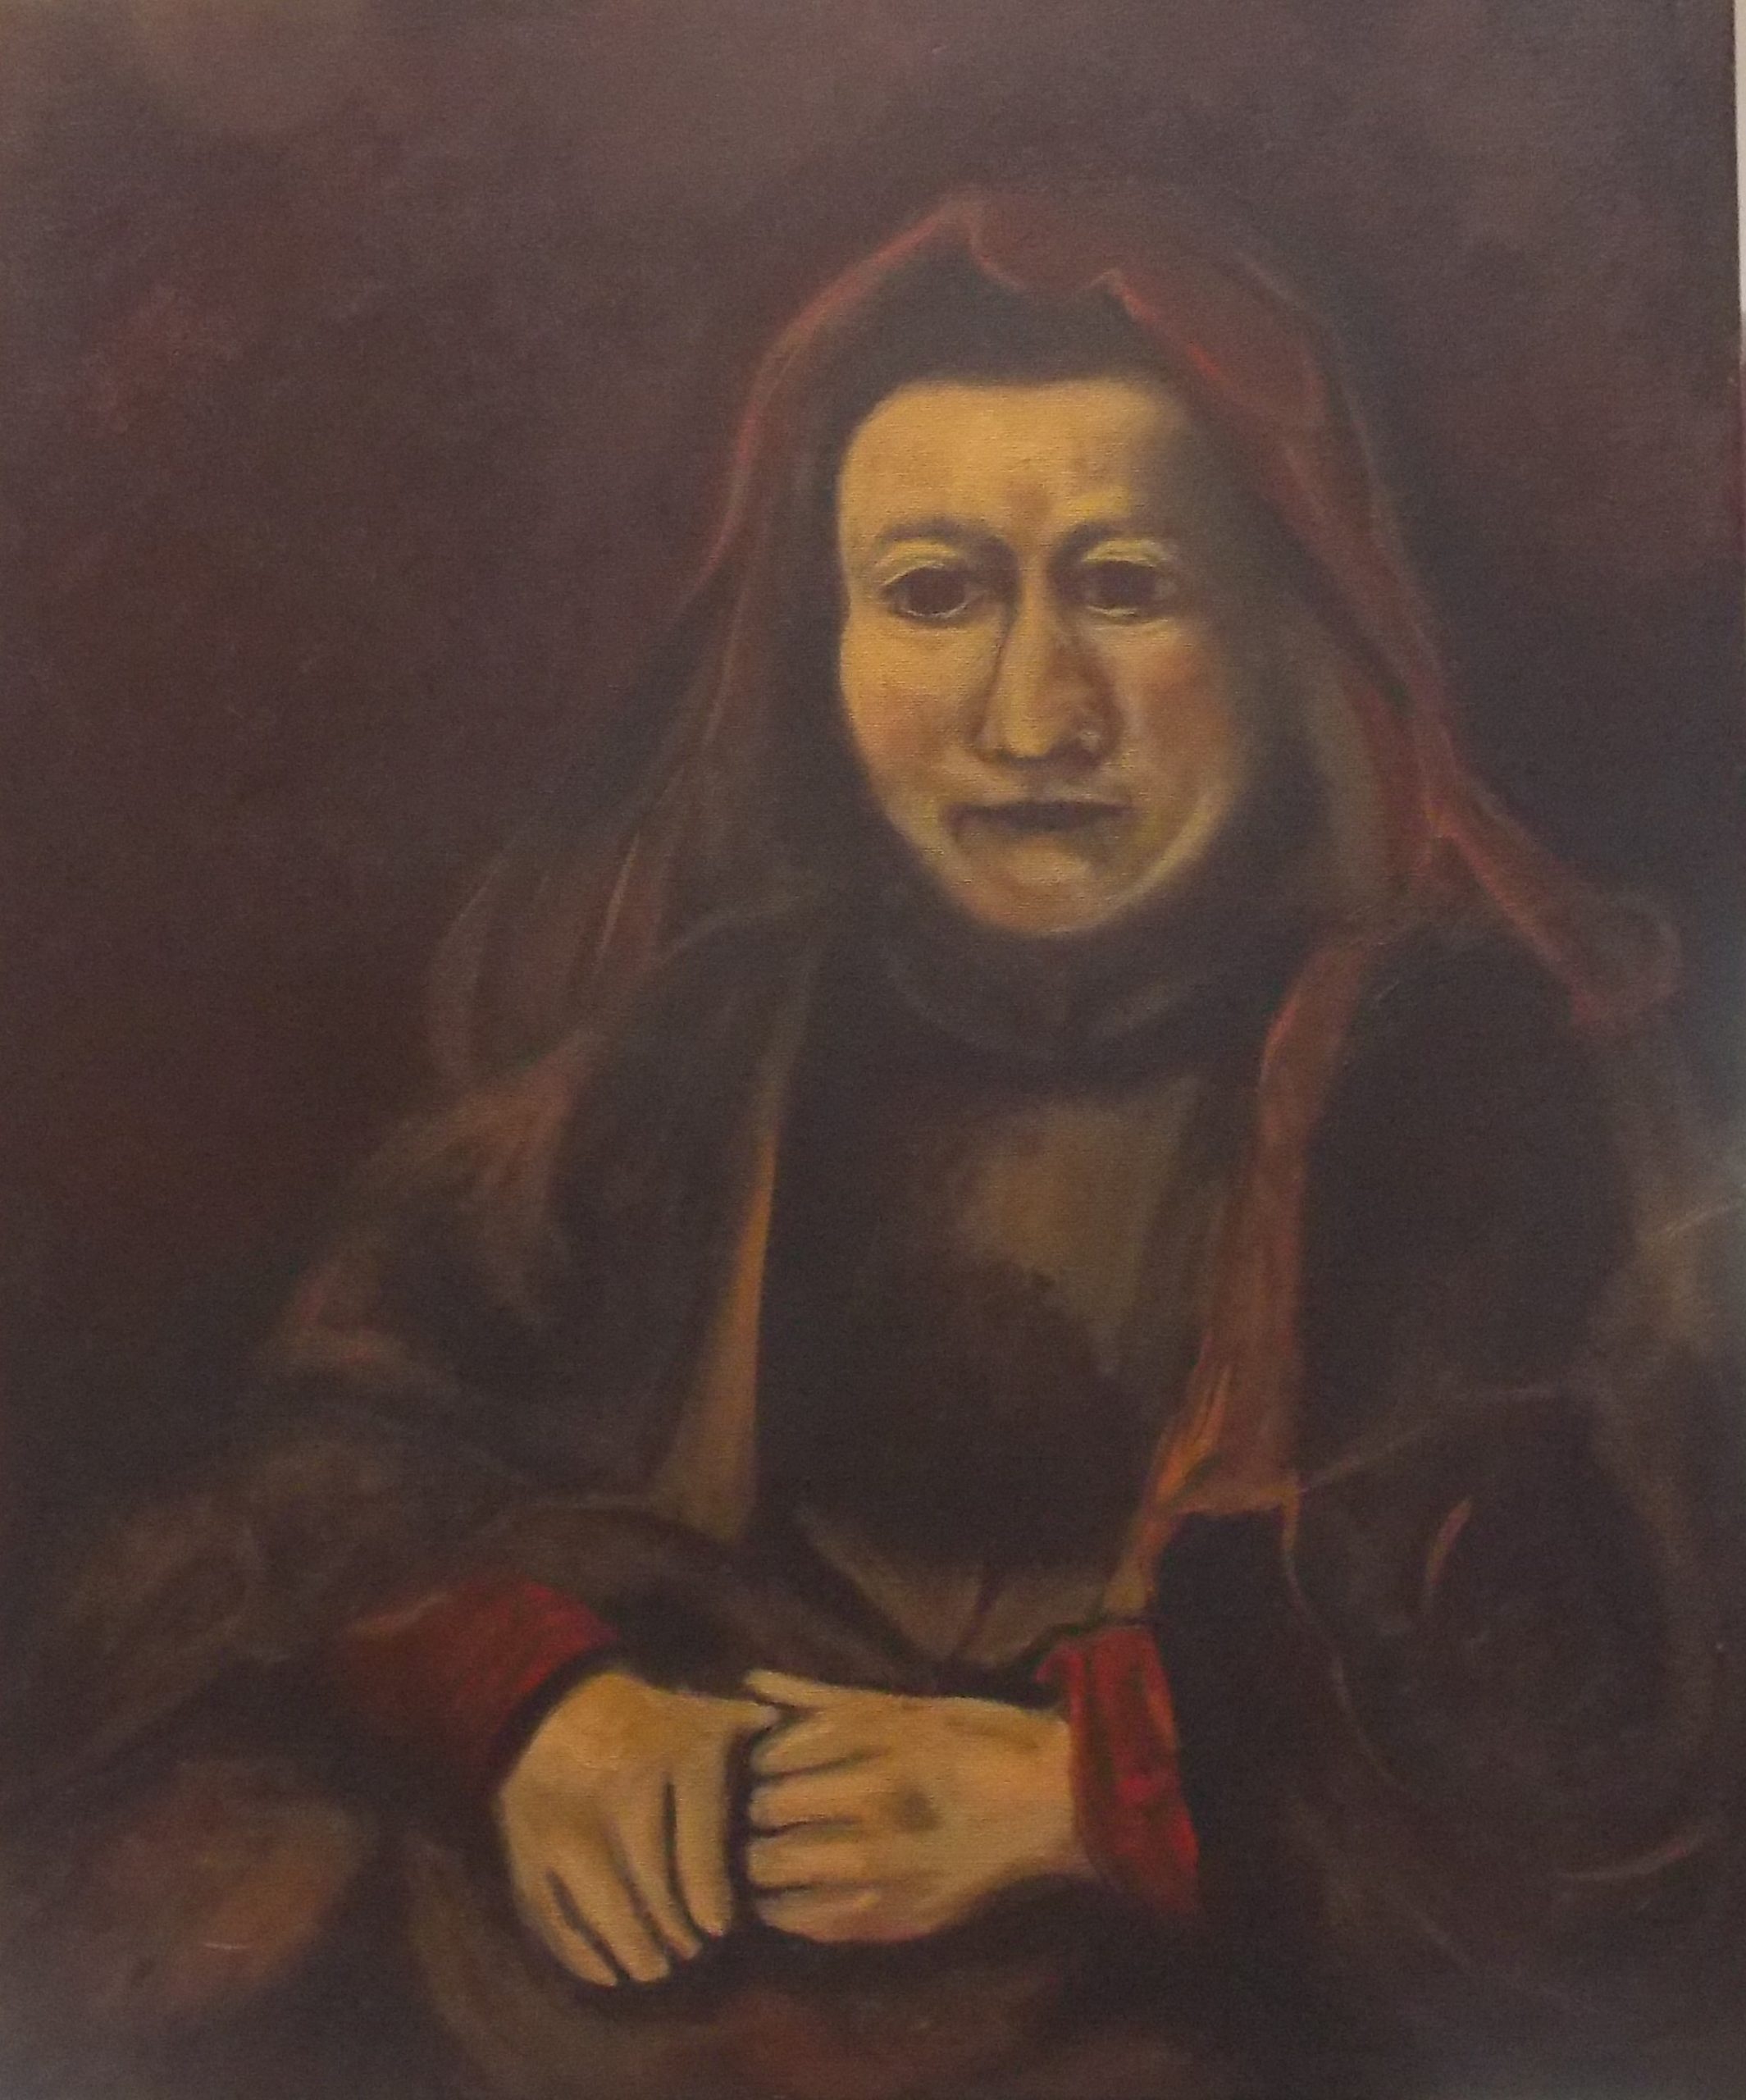
Highlights
Now it is time to move on depicting highlights on the face and clothes, rendering of cloth details and whitening up a little bit the colours on the face. Furthermore redefining the eyes and highlights on eyes and creating hard edges on the face boundaries to better define shape.
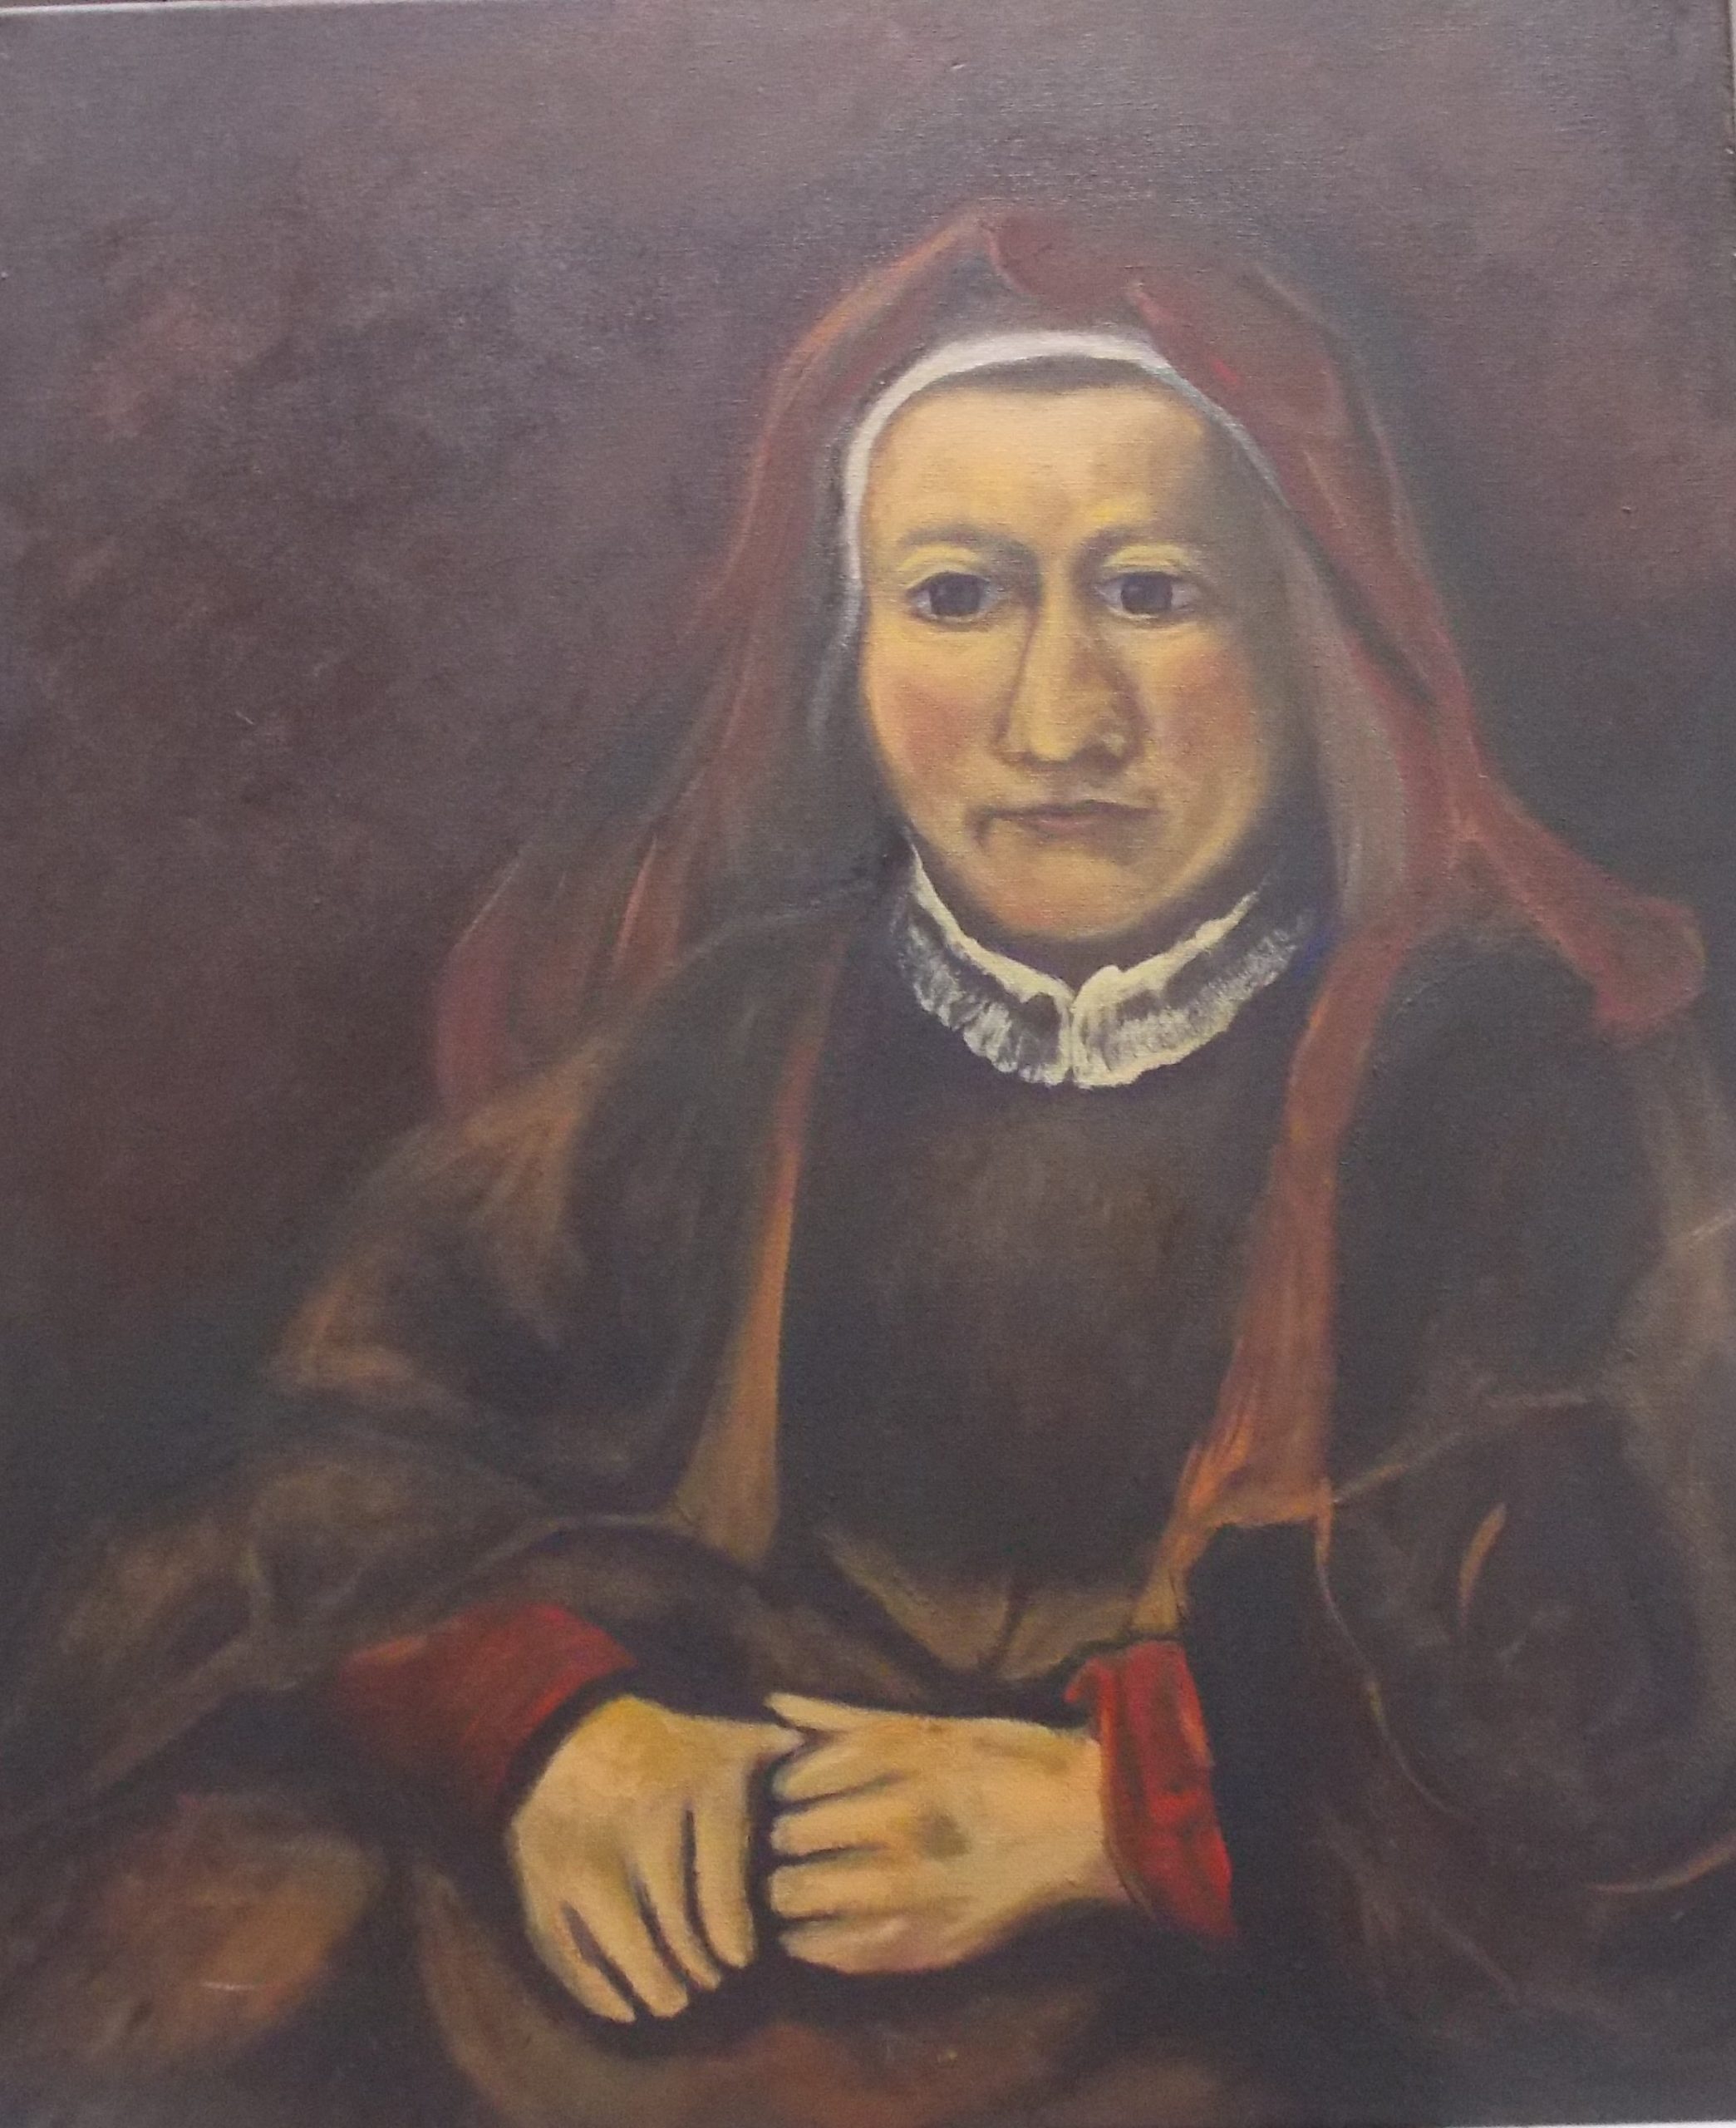

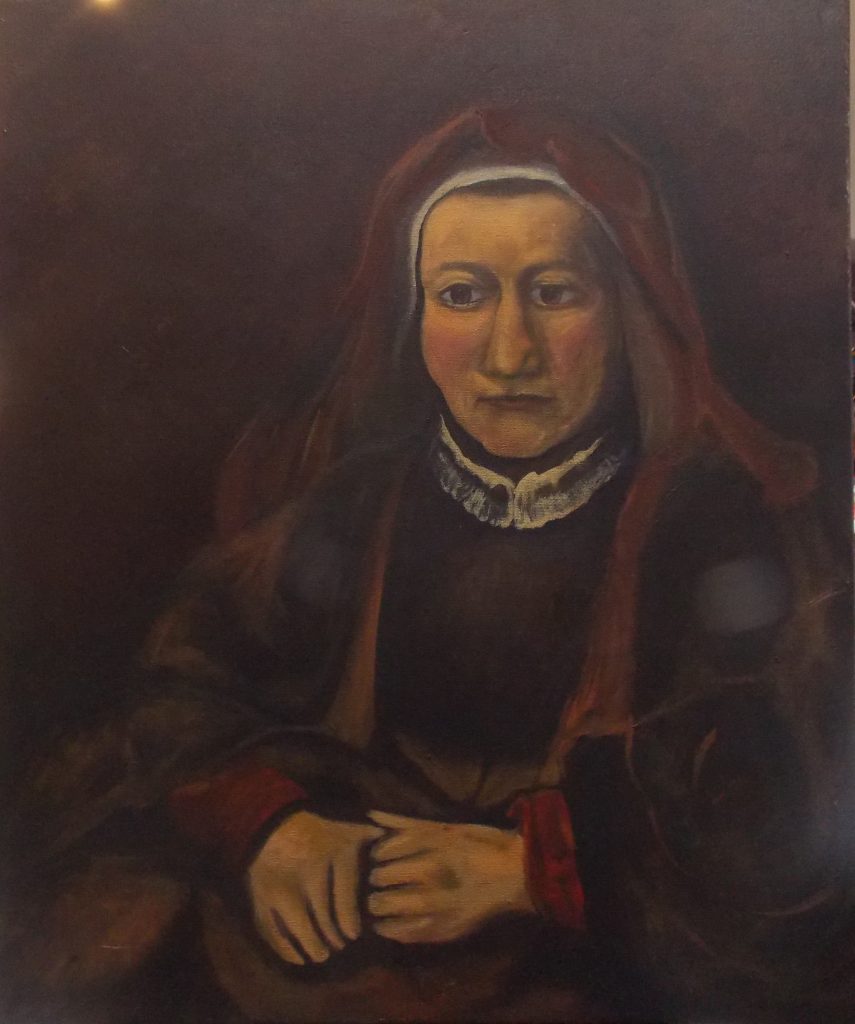
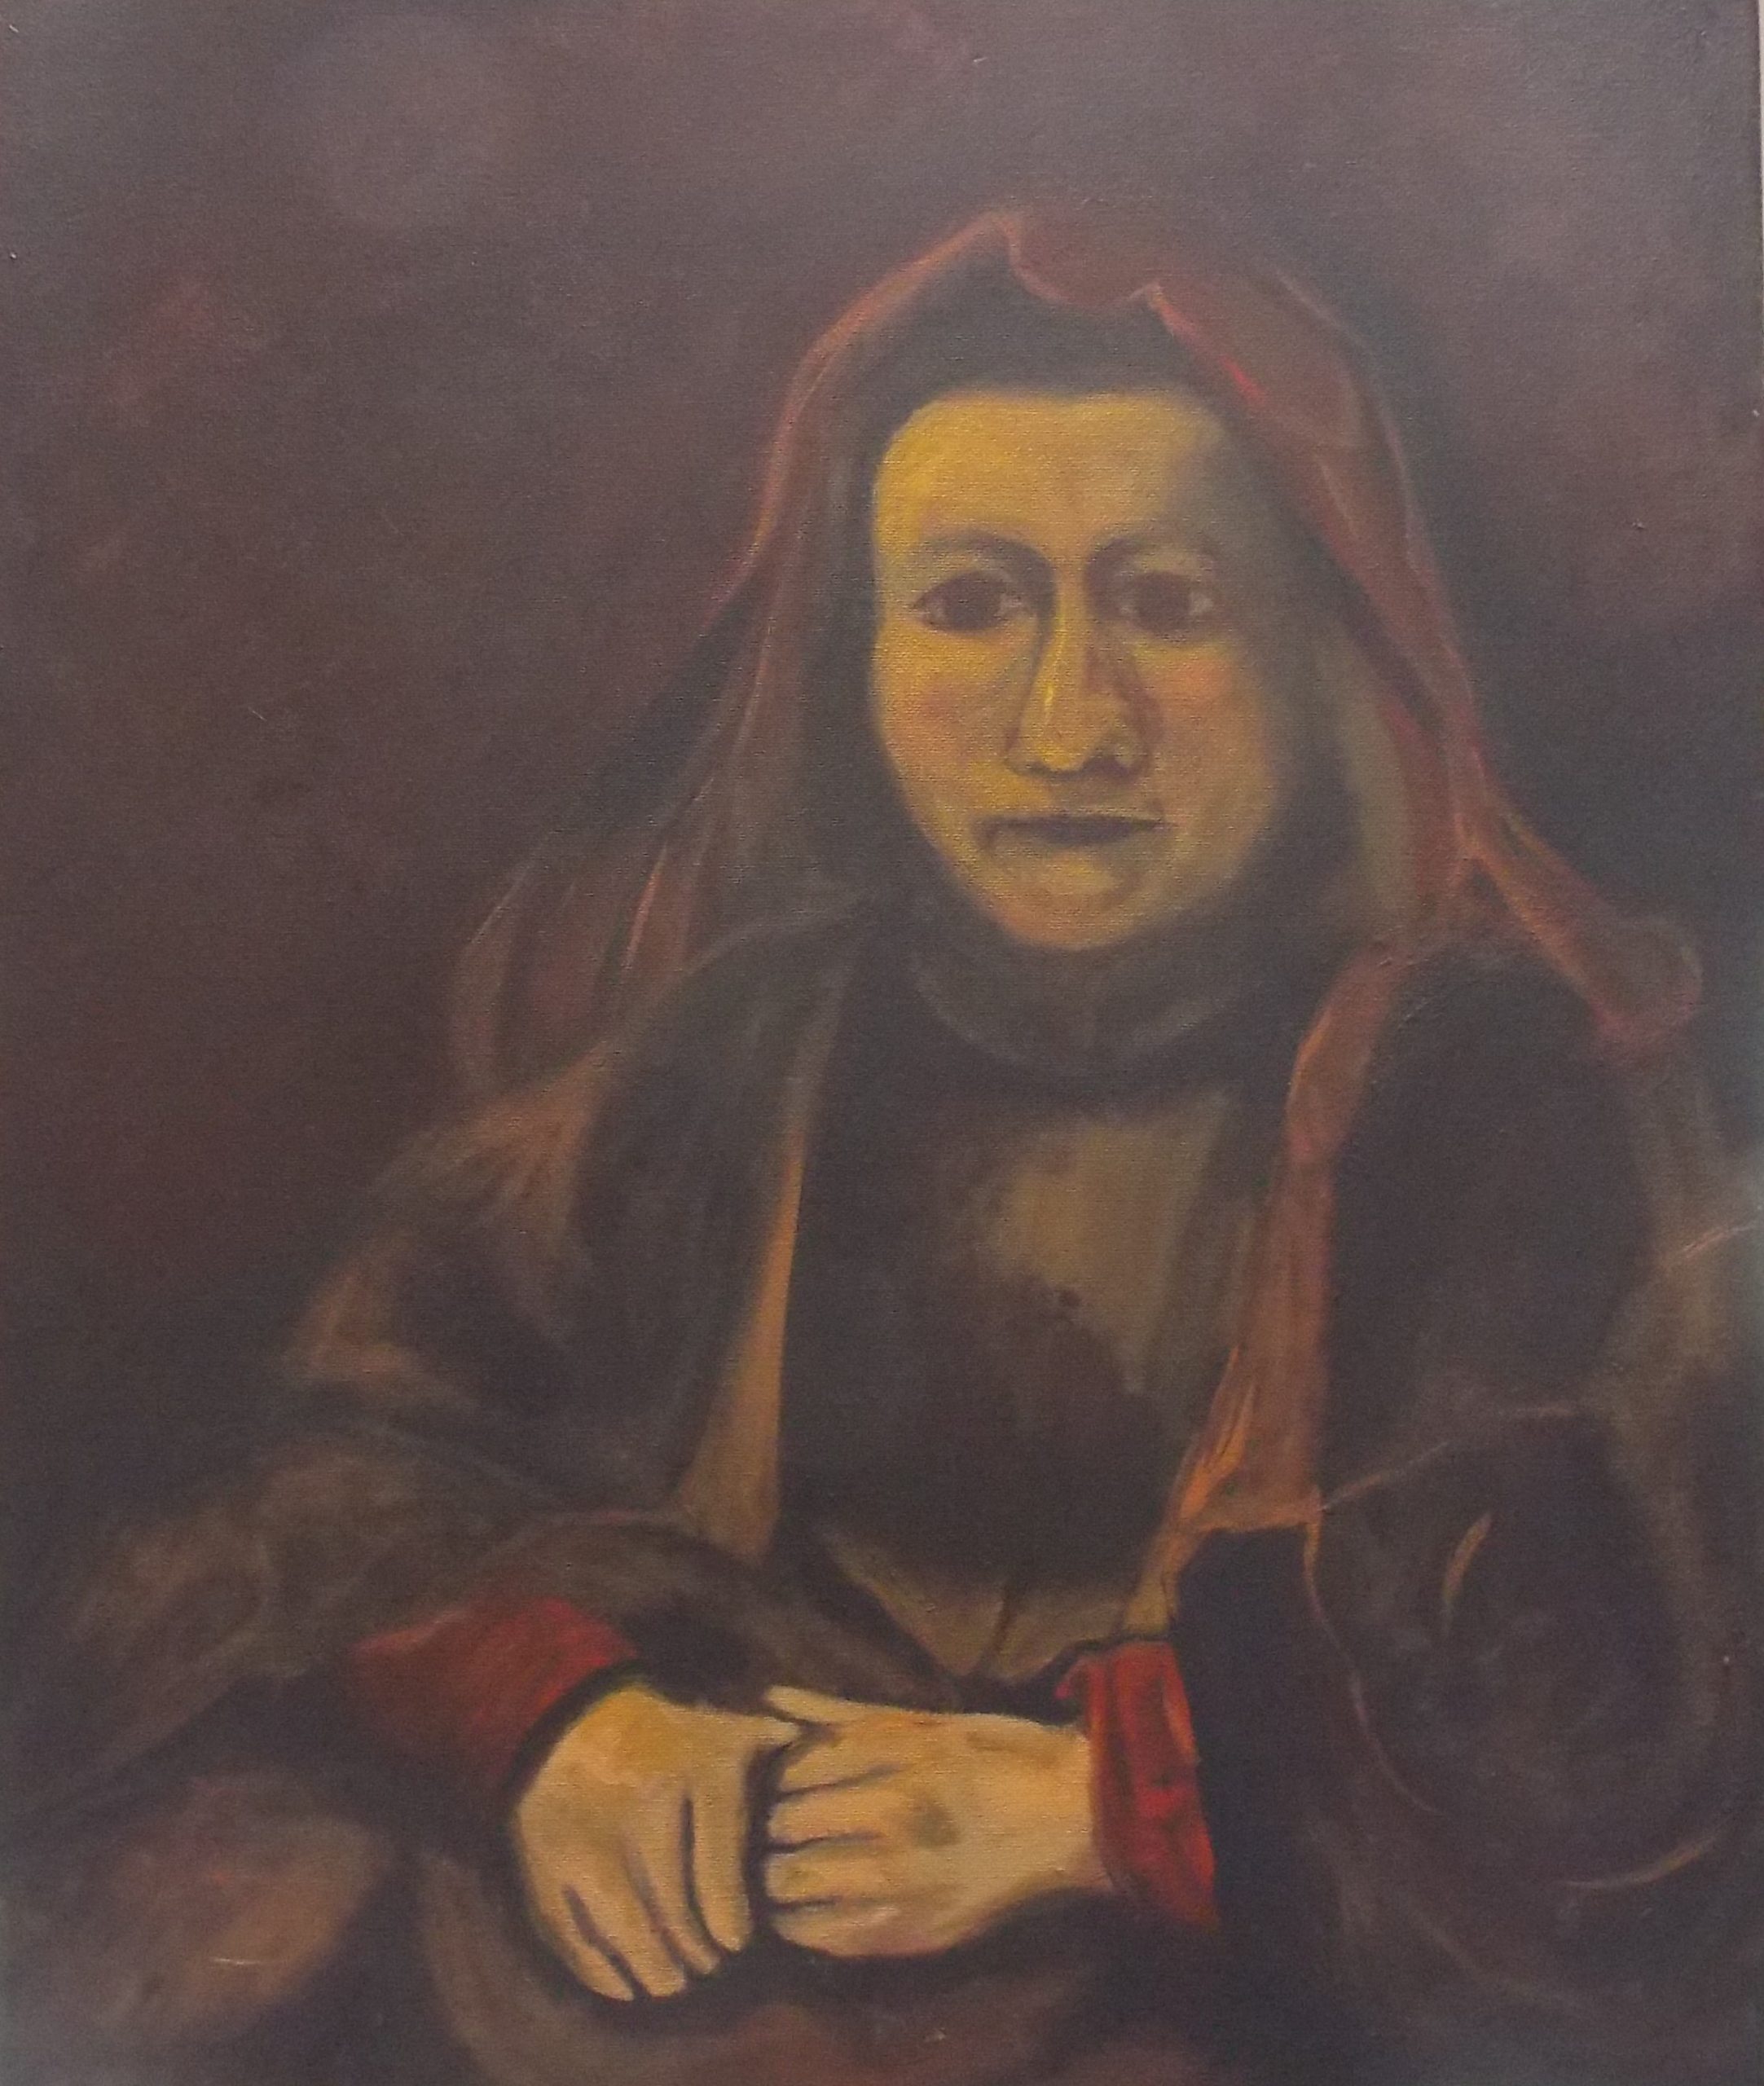
Final artwork
Below you can find the outcome of this second seating on the outcome. As you can see a lot of further improvements can be made mainly on the face and hands area. I will probably do a third seating sometime in the future and keep you posted with the results.